Concrete4U | Concrete Admixtures, Tools, and Production Machines

How to Use Hydroxypropyl Methyl Cellulose for Tile Adhesive: A Practical Guide for Perfect Workability and Strong Bonds
A Lesson Learned the Hard Way
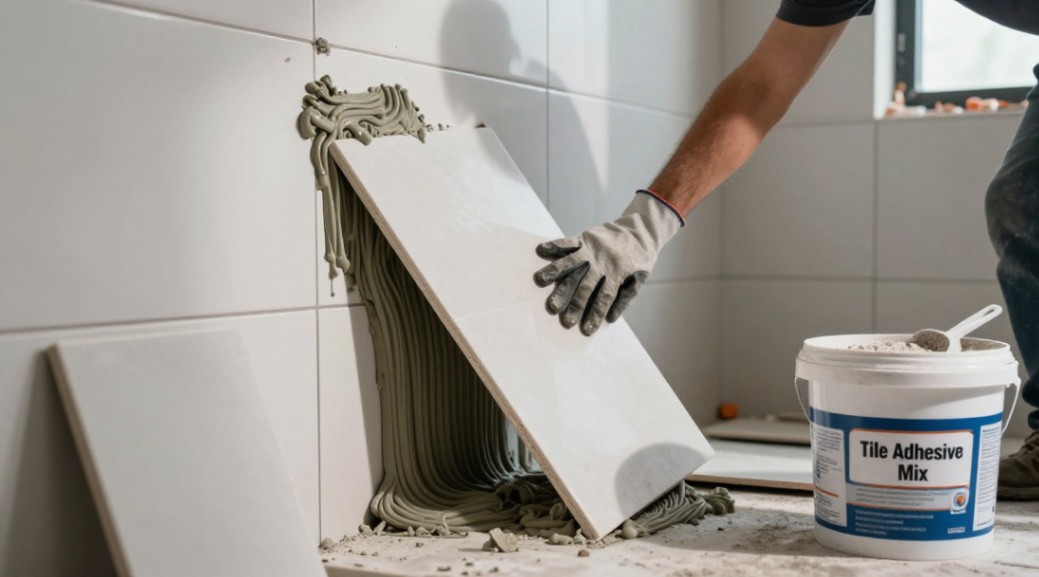
Years ago, I was on a high-end bathroom project. Large-format porcelain tiles. We mixed the adhesive, started setting, and everything seemed fine. Then the problems started. The adhesive skinned over too quickly. The tiles started sliding down the wall. The crew was frustrated, the schedule blew up, and the client was unhappy. The culprit? An underperforming additive in the mix. That experience burned the importance of a single ingredient into my mind: hydroxypropyl methyl cellulose for tile adhesive. It’s not just a powder; it’s the conductor of your adhesive’s performance orchestra.
What is Hydroxypropyl Methyl Cellulose (HPMC)?
Think of HPMC as a multi-tasking workhorse derived from natural cellulose. In simple terms, it’s a fine, white powder that dissolves in water to form a clear, viscous solution. When you add it to your tile adhesive mix, it fundamentally changes the behavior of the water and cement. It doesn’t just sit there. It actively manages the entire system from mixing to final cure. Its core magic lies in two intertwined properties: exceptional water retention and powerful thickening.
The Core Functions: Why HPMC is Non-Negotiable
HPMC performs several critical jobs simultaneously. Ignoring any one is a recipe for failure.
Water Retention and Open Time
This is HPMC’s primary superpower. Cement needs water to cure. Without a water-retaining agent, the substrate and the air suck the moisture out of your adhesive mix too fast. The adhesive dries before the cement has fully hydrated. This leads to weak bonds and brittle adhesive. HPMC forms a protective colloid around the water molecules. It dramatically slows evaporation. This gives you the open time – the window you have to adjust tiles after placement. For large tiles, this is everything.
Workability and Anti-Sag Properties
HPMC thickens the mix. But smartly. It provides a creamy, buttery consistency that is easy to trowel and holds its ridges. This workability means less fatigue for the installer. More importantly, that thickened, gel-like structure gives the wet adhesive body. It resists downward movement under the weight of a tile. This is the anti-sag property. Your tiles stay where you put them, even on vertical surfaces.
Enhanced Adhesion and Bond Strength
By ensuring full cement hydration, HPMC directly contributes to ultimate compressive and tensile strength. Properly hydrated cement forms stronger crystals. Furthermore, the improved workability allows for a perfect, void-free transfer of adhesive to both the tile and substrate. No air pockets. Maximum contact area. The result is a stronger, more reliable bond.
Your Step-by-Step Guide to Using HPMC Correctly
Knowing *why* to use HPMC is half the battle. Knowing *how* is what separates professionals from amateurs. Follow these steps.
Step 1: Selecting the Right HPMC Grade
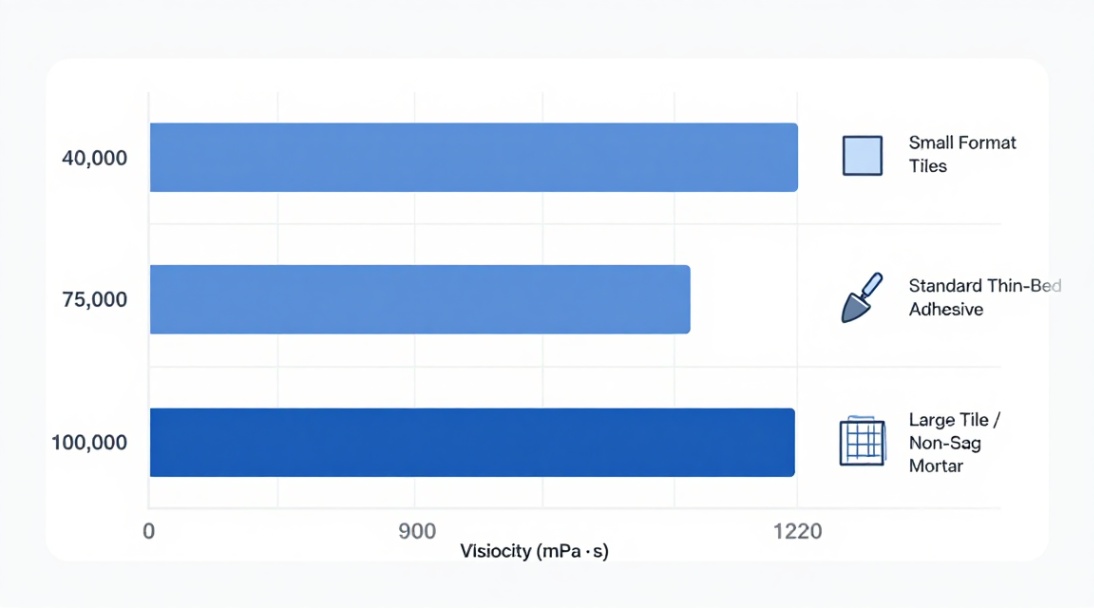
Not all HPMC is the same. You must match the viscosity grade to your application. Viscosity is measured in mPa·s (e.g., 40,000; 75,000; 100,000). Higher viscosity grades thicken more. For standard thin-bed adhesives, a medium viscosity (60,000-100,000 mPa·s) is often ideal. It balances sag resistance and smooth troweling. For thicker, non-sag mortars for large tiles, you might go higher. The substitution ratio (methyl to hydroxypropyl groups) also affects solubility and surface activity, but for most users, specifying the correct viscosity is the key.
Step 2: Determining the Correct Dosage
More is not always better. A typical dosage range for hydroxypropyl methyl cellulose for tile adhesive is 0.2% to 0.7% of the total dry powder weight. Start in the middle, around 0.4%.
For a cement-based adhesive needing high open time and strong anti-sag, lean toward 0.5-0.7%.
For a gypsum-based adhesive, you often need less, sometimes as low as 0.1-0.3%, as gypsum itself has different water needs.
Always test a small batch first.
Step 3: The Critical Mixing Procedure
Mixing order matters. Here is the failsafe sequence:
1. Add your measured amount of HPMC powder to the mixing water first. Use a high-shear mixer. Mix for 1-2 minutes until the powder is fully dispersed and the water becomes a thick, lump-free gel. This pre-gelation is crucial.
2. Add this HPMC gel to your dry mix of cement, sand, and other powders (like redispersible polymer powder).
3. Mix thoroughly until you achieve a homogenous, lump-free mortar with perfect consistency. Skipping the pre-gelation step leads to fish-eyes (undissolved lumps) in your final adhesive, creating weak points.
Step 4: Application and Adjustment
Apply your adhesive with a notched trowel as usual. You will immediately feel the difference. The ridges stand up cleanly. The adhesive feels cohesive, not watery. Place your tile. Because of the extended open time provided by the HPMC, you have a generous window-often 20-30 minutes-to make fine adjustments, cheque alignment, and ensure perfect lippage. The tile will not slip.
Advanced Considerations for Flawless Results
To truly master this ingredient, consider these finer points.
HPMC and Polymer Powders: The Perfect Partnership
HPMC and redispersible polymer powder (RPP) are a powerhouse team. They work synergistically. HPMC handles water management, workability, and initial grab. The polymer powder provides flexibility, improved adhesion to difficult substrates, and increased tensile strength. They are complementary, not substitutes. In a premium flexible tile adhesive, you will use both.
Storage and Handling of HPMC Powder
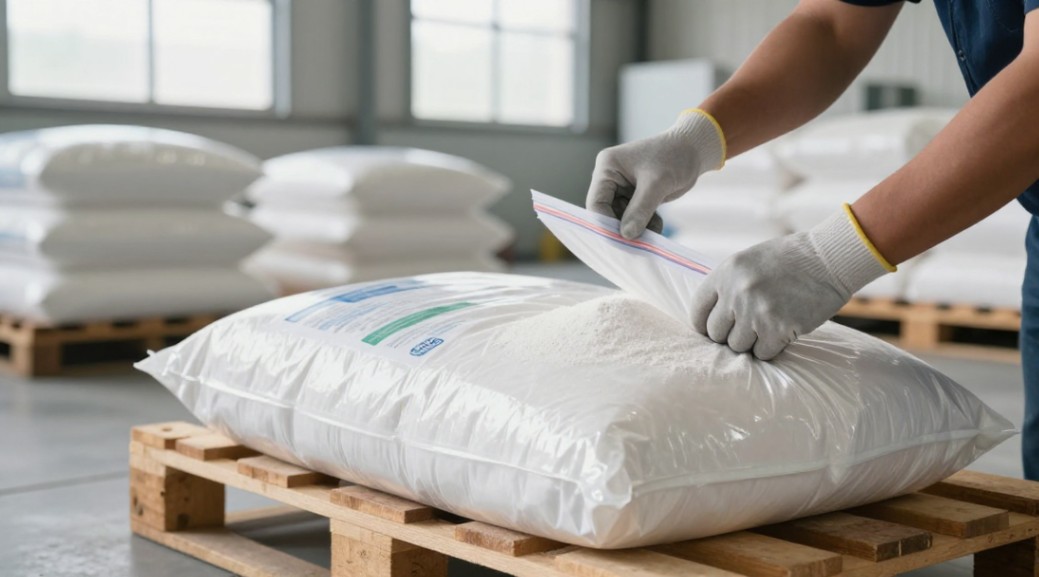
Keep HPMC in its original, sealed bag in a cool, dry place. Moisture is its enemy. Once opened, seal the bag tightly. Stored correctly, it has a long shelf life of typically two years. If it absorbs moisture and forms hard lumps, its performance will be compromised.
Moving Forward with Confidence
Using hydroxypropyl methyl cellulose for tile adhesive correctly transforms a frustrating job into a smooth, predictable process. It gives you control. Control over time. Control over the material. Control over the final result. Start with a small, controlled test batch using the steps above. Adjust the dosage to match your specific tile, substrate, and environmental conditions. Feel the improved workability. See the anti-sag performance. You will never go back to guessing. Your tiles-and your clients-will thank you for the attention to detail.
Supplier
We are the global leader in lightweight concrete and advanced engineered foam solutions. Known globally for its commitment to research, innovation, and applied expertise, we have been providing engineered foam solutions since the early 2012’s.
We can supply high-quality concrete admixture and foam concrete related products all over the world.
The company has a professional technical department and quality supervision department, a well-equipped laboratory, and equipped with advanced testing equipment and after-sales customer service center.
If you are interested, please feel free and contact us.