Concrete4U | Concrete Admixtures, Tools, and Production Machines

Stop Sealing Concrete. Densify It. The Sodium Silicate Truth Bomb
The Day I Realized I Was Polishing Dirt
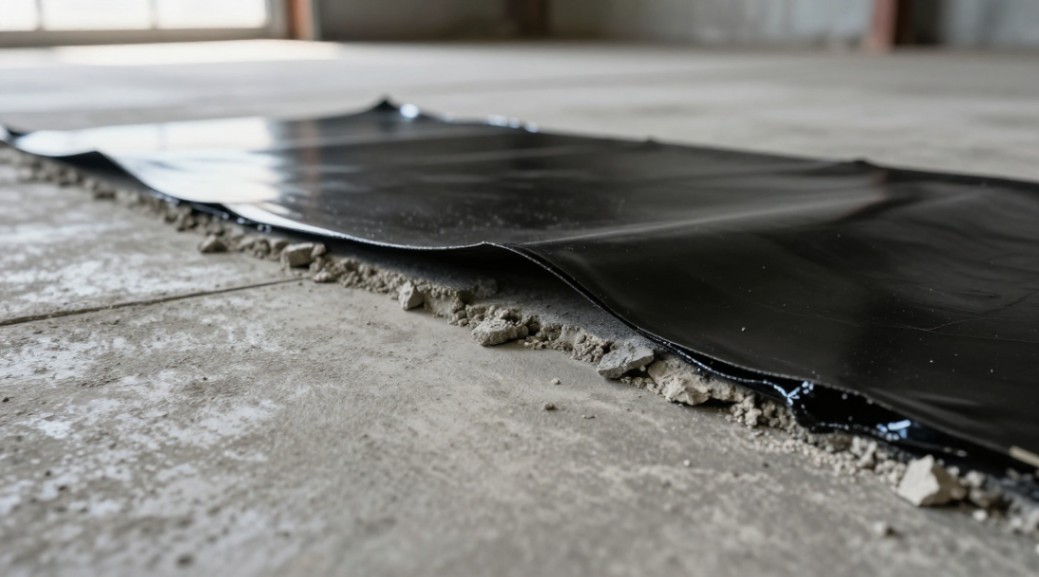
I watched a client buff his new epoxy floor. It shone like obsidian. Six months later, he called me, furious. The epoxy was peeling in sheets, revealing the soft, powdery concrete underneath. We hadn’t sealed a floor. We had wrapped a rock in gift paper. That’s when I gave up on mere sealing and started densifying concrete with sodium silicate. This isn’t a cosmetic layer. It’s a permanent chemical change from the inside out.
What Sodium Silicate Actually Does (It’s Not a Seal)
Calling sodium silicate a ‘sealer’ is marketing fluff that causes failure. It is a chemical densifier. Here’s the brutal, honest truth about the reaction. Unreacted lime (calcium hydroxide) is the weak link in your concrete slab. It causes dusting and weakness. Sodium silicate solution penetrates the pores and reacts with this free lime and moisture. The result is a hard, crystalline calcium silicate hydrate gel. This gel permanently binds within the concrete matrix. You aren’t covering the problem. You are turning the problem into the solution.
Densification vs. Topical Sealing: The Core Difference
| Feature | Sodium Silicate Densifier | Acrylic/Epoxy Topical Sealer |
|---|---|---|
| Primary Action | Chemical reaction within the slab | Forms a film on top of the slab |
| Wear Surface | The concrete itself becomes harder | The coating wears away, revealing soft concrete |
| Vapor Transmission | Unimpeded (breathable) | Can trap moisture, leading to blistering |
| Durability | Permanent; part of the concrete | Temporary; subject to scratches, UV, chemicals |
| Best For | Industrial floors, shops, prep for coatings, dustproofing | Decorative finishes, high-gloss aesthetics, specific chemical resistance |
The No-BS, Step-by-Step Application Guide
Success depends on preparation and timing. Rushing this process creates a sticky, ineffective mess. Follow these steps in order.
1. Surface Preparation: The Make-or-Break Phase
All curing compounds, sealers, paints, and oils must be completely removed. The concrete must be clean, open, and thirsty.
- Mechanical Preparation: For old floors, diamond grind or shot blast. This opens the pores and removes laitance (the weak top layer). For new concrete (28+ days cured), a thorough acid etch works.
- Cleaning: Remove all grinding dust. Use a industrial vacuum, then a damp mop. Any dust left will block penetration.
- Drying: The slab must be surface dry. Moisture in the pores is good. Standing water is bad. Let it air dry after cleaning.
2. Mixing and Application: The Chemical Pour
Use a clean, chemical-resistant sprayer or a low-nap roller. Do not dilute ready-to-use products unless specified.
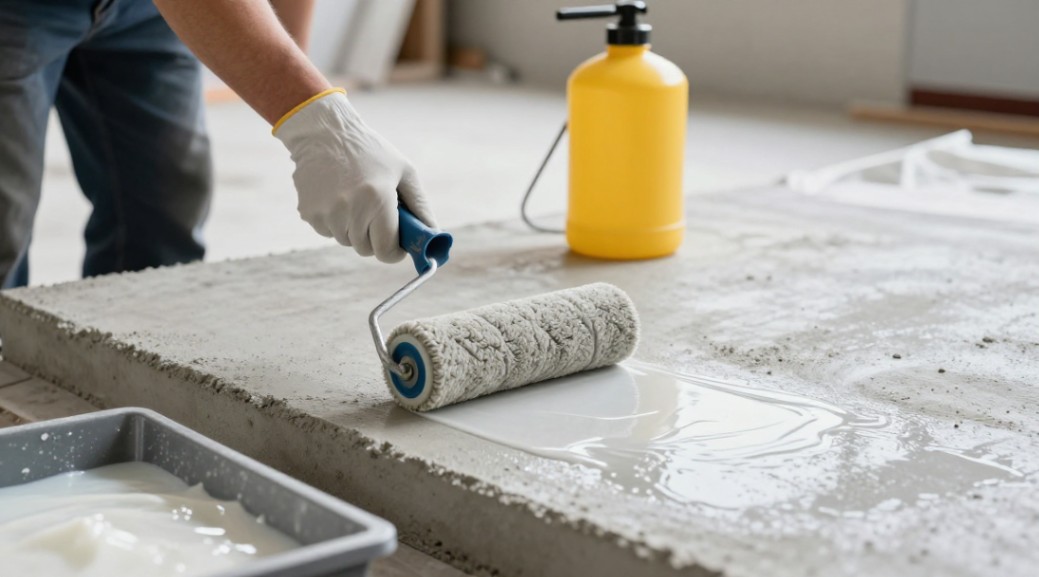
- Initial Flood Coat: Apply the sodium silicate solution liberally. You should see immediate darkening as it penetrates. Keep the surface wet for a minimum of 20 minutes. Do not let it dry.
- Agitation is Critical: This is the secret step most people skip. After 5-10 minutes, use a stiff-bristle broom or a floor machine with a nylon pad to scrub the surface. This breaks the initial gel that forms, allowing the solution to penetrate deeper. You will feel the surface become slippery.
- Second Application: After agitation, apply more solution to any areas that have absorbed it all. The goal is a consistent, dark, wet look across the entire floor for the full reaction period.
3. Curing and Cleanup: Letting the Magic Happen
- Drying Time: Let the floor dry completely. This takes 24-72 hours depending on temperature and humidity. You will see a white, powdery residue (efflorescence of unreacted salts). This is normal.
- Residue Removal: After full drying, mechanically remove the residue. Use a floor buffer with a white pad or a light scrub with a mild detergent solution. This reveals the hardened surface. Rinse and let dry.
What to Expect: Realistic Results
Do not expect a glossy, plastic-looking finish. You are not applying plastic. Expect a hard, matte, stone-like surface.
- Hardness: Surface hardness (Mohs) can increase significantly, reducing wear from foot and wheel traffic.
- Dustproofing: This is permanent. The reactive lime is gone, so no new dust can form from within.
- Sheen: A slight, natural hard-trowel sheen may appear. You can enhance this by burnishing with finer diamond pads after application.
- Stain Resistance: Improved, but not total. Spills must still be cleaned promptly. The floor is more resistant but not impervious like epoxy.
Common Catastrophes (And How to Avoid Them)
I’ve cleaned up every mistake in the book. Don’t be my next client.
| Mistake | Result | How to Avoid It |
|---|---|---|
| Applying over a sealed surface | Beading, no penetration, zero effect. | Test with water. If it beads, keep grinding/etching. |
| Letting it dry during reaction | Sticky, gummy, uneven film on surface. | Keep it wet. Agitate. Reapply. Time it right. |
| Using on non-cementitious surfaces | No reaction, wasted material. | Sodium silicate only works on Portland cement-based concrete. |
| Skipping residue cleanup | White haze, poor adhesion for future coatings. | Buff it off after full drying. It’s not the densifier. |
The Final Verdict: When to Use It, When to Skip It
Sodium silicate is a foundational treatment, not a final finish.
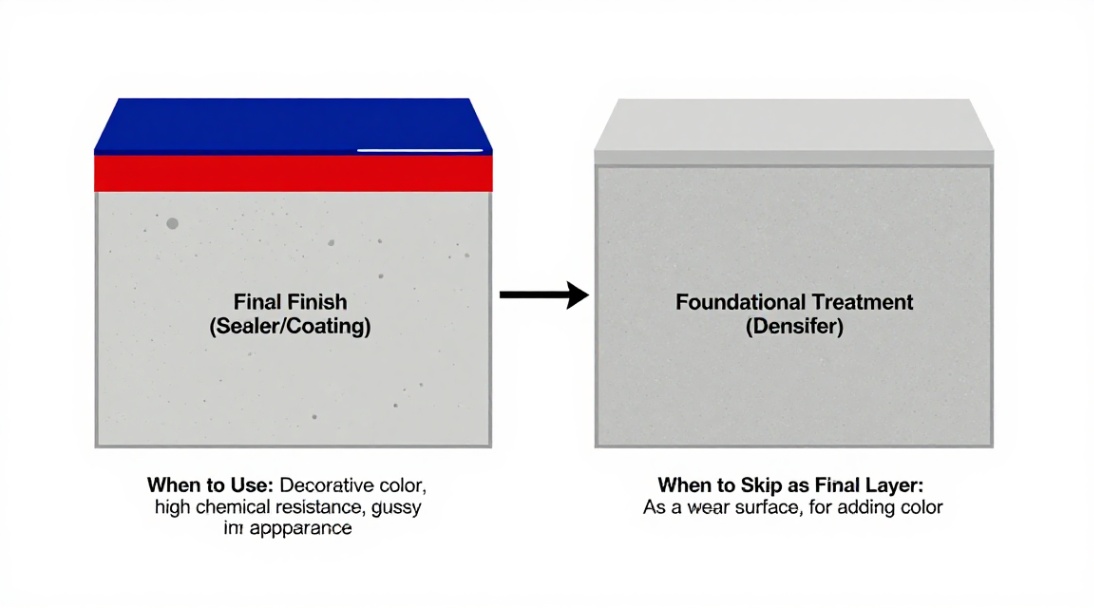
- USE IT WHEN: You need a durable, low-maintenance industrial floor. You are preparing concrete for an epoxy or urethane coating (it’s the best primer). You want to permanently eliminate dusting. You appreciate the natural, matte look of stone.
- SKIP IT FOR: High-gloss, wet-look aesthetics. Projects requiring total impermeability to harsh chemicals (add a topcoat). Surfaces like asphalt, brick, or existing acrylic-sealed concrete.
My advice? Start thinking in layers. The first layer is the concrete itself. Harden it with sodium silicate. Then, and only then, decide if you need a decorative or specialty chemical-resistant topcoat. You’ll have a system that lasts decades, not seasons. Now you know.
Supplier
We are the global leader in lightweight concrete and advanced engineered foam solutions. Known globally for its commitment to research, innovation, and applied expertise, we have been providing engineered foam solutions since the early 2012’s.
We can supply high-quality concrete admixture and foam concrete related products all over the world.
The company has a professional technical department and quality supervision department, a well-equipped laboratory, and equipped with advanced testing equipment and after-sales customer service center.
If you are interested, please feel free and contact us.