Concrete4U | Concrete Admixtures, Tools, and Production Machines

Lightweight Concrete Countertops: A Professional’s Guide to Avoiding Costly Mistakes
The Core Premise of Lightweight Concrete Countertops
Making durable lightweight concrete for countertops requires balancing density, strength, and workability. Many DIY attempts fail because builders treat it like standard concrete. It’s not. The goal is to replace heavy sand and stone with lightweight aggregates like perlite or vermiculite while maintaining structural integrity for a kitchen surface.
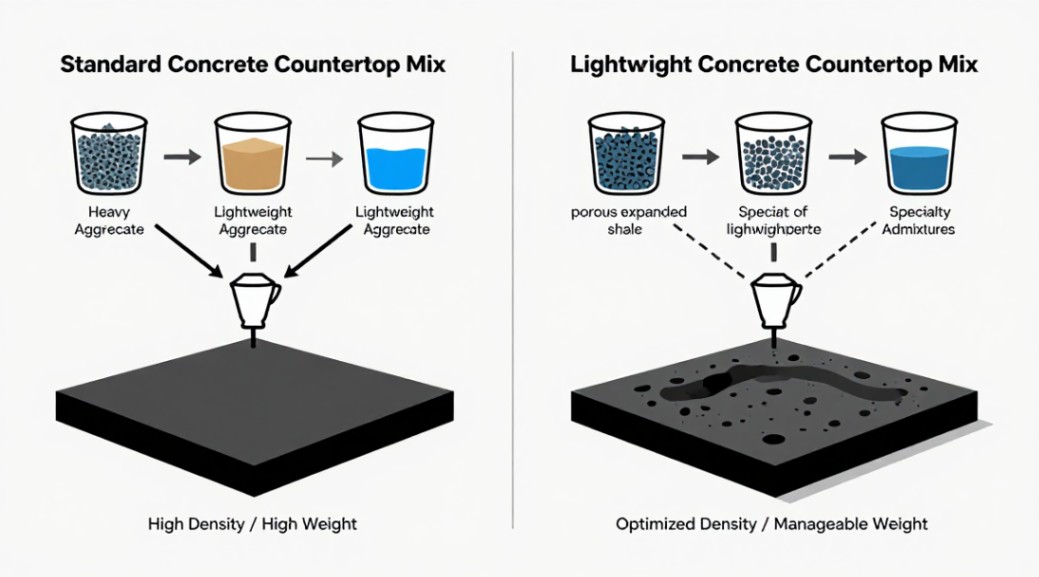
Top 5 Mistakes That Destroy Lightweight Countertop Projects
Before discussing the proper method, identify and eliminate these critical errors. They account for most project failures documented in online forums.
1. Guessing the Mix Design Ratios
This is the primary point of failure. A standard 3:1 sand-to-cement ratio collapses with lightweight aggregates.
- Mistake: Directly substituting perlite for sand by volume. Perlite has no inherent bond; it requires a paste-rich matrix.
- Result: A weak, crumbly slab that cannot withstand impact or point loads from pots and appliances.
- Community Feedback: Many users on Reddit and DIY forums report countertops chipping at the edges or developing hairline cracks simply from setting a dinner plate down, often traced to a lean, aggregate-dominant mix.
2. Neglecting Proper Reinforcement
Lower density demands smarter reinforcement, not less.
- Mistake: Using only a single layer of welded wire mesh or skipping fiber reinforcement.
- Result: High risk of cracking during handling, curing, or under thermal stress.
- Professional Solution: A hybrid approach is non-negotiable. Combine a high-modulus structural fiber (e.g., 1.5 lb/cu yd) with a strategically placed layer of fine wire mesh or alkali-resistant (AR) glass fiber grid. This creates a three-dimensional reinforcement network the paste can grip.
3. Using the Wrong Aggregate Type or Grade
Not all perlite or vermiculite is created equal.
- Mistake: Using horticultural-grade perlite, which is too fine and dusty, or large, unstable vermiculite flakes.
- Result: Poor workability, excessive water demand, and inconsistent surface texture. Horticultural perlite can act like little sponges, ruining your water-cement ratio.
- Sourcing Advice: Source a medium-grade, pre-washed concrete perlite or a stable exfoliated vermiculite from a building materials supplier. Pre-wetting the aggregate before mixing is a critical step to control mix water.
4. Rushing the Curing Process
Lightweight mixes cure differently. They are more susceptible to plastic shrinkage and require extended moist curing.
- Mistake: Demolding after 24 hours and letting the slab air-dry.
- Result: Rapid moisture loss leads to weak, powdery surfaces and compromised long-term strength. The slab may never achieve its design compressive strength.
- Curing Specifics: Keep the slab sealed in its formwork for a minimum of 48-72 hours. After demolding, immediately wrap it in plastic sheeting for at least 7 days. This slow, moist cure is mandatory for strength development.
5. Improper Finishing and Sealing
A porous surface sealed poorly is a stain magnet.
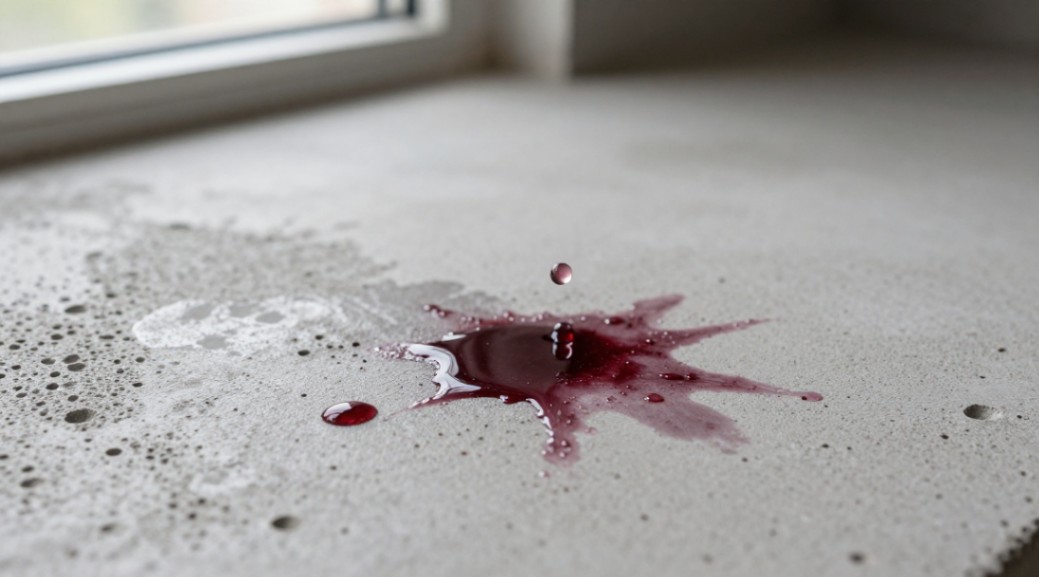
- Mistake: Applying a generic concrete sealer too early, or only using a topical sealer.
- Result: Stains from wine, oil, and citrus penetrate permanently. The sealer may peel or blister.
- Technique: After full curing (28 days ideally), mechanically sand the surface to a consistent 220-grit finish. Use a penetrating lithium silicate densifier first to harden the surface. Follow with multiple coats of an impregnating, food-grade sealer (like a high-quality epoxy or urethane) for stain resistance.
The Correct Process: How to Make Lightweight Concrete for Countertops
Follow this precise sequence to avoid the pitfalls above. Accuracy in measurement is paramount.
Material Sourcing and Mix Design
Gather high-quality materials. A typical starting mix ratio by volume for a countertop-grade mix is:
- 1 part Portland cement (Type I/II)
- 1 part fine silica sand (30-70 mesh)
- 1.5 to 2 parts pre-wetted lightweight aggregate (e.g., concrete perlite)
- Water: Start with 0.45 to 0.5 water-cement ratio by weight. Adjust for workability.
- Admixtures: A polycarboxylate-based superplasticizer is highly recommended to reduce water and improve flow without segregation. A viscosity modifying agent (VMA) can also help stabilize the mix.
Step-by-Step Mixing Instructions
- Pre-wet Aggregate: Submerge your lightweight aggregate in water for at least 15 minutes. Drain excess water. This prevents it from sucking water out of your cement paste during mixing.
- Dry Blend: In a mixer, combine the cement and dry silica sand. Mix for 1 minute until uniform.
- Add Water & Admixtures: With the mixer running, add 80% of your measured water and the full dose of superplasticizer.
- Incorporate Aggregate: Gradually add the pre-wetted lightweight aggregate. Mix until just incorporated, usually 3-5 minutes. Avoid over-mixing, which can break down the aggregate.
- Adjust Consistency: Assess the mix. It should be cohesive and paste-like, not watery or dry. Add the remaining water sparingly if needed. The mix should hold its shape when squeezed.
Formwork, Placement, and Curing
- Formwork Design: Use rigid, sealed melamine or coated plywood forms. Ensure all joints are perfectly sealed with silicone to prevent paste leakage. Apply a high-quality form release agent.
- Reinforcement Placement: Pour a 0.5 inch (12 mm) base layer. Place your wire mesh or fiberglass grid. Pour the remaining concrete, ensuring the reinforcement is fully encapsulated and centered.
- Vibration: Use a palm sander on the form’s exterior or a small internal vibrator briefly to consolidate the mix and eliminate air pockets. Over-vibration will cause aggregates to float.
- Curing Protocol: Cover the form with plastic. Leave untouched for 72 hours. Demold gently. Immediately wrap the slab in plastic sheeting for 7 days. Store in a temperate environment (60-75°F).
| Property | Lightweight Concrete | Traditional Concrete |
|---|---|---|
| Weight per sq ft (2″ thick) | 12 – 18 lbs | 25 – 30 lbs |
| Installation Advantage | Easier handling; often requires less cabinet reinforcement. | Requires robust, often custom-built, cabinet support. |
| Thermal Insulation | Higher (better for kitchens with temperature fluctuations). | Lower. |
| Workability (Finish) | More porous surface; requires diligent sealing. | Denser surface; can take a polish. |
| Primary Cost Factor | Material cost (specialized aggregates, admixtures). | Labour & handling (weight, equipment). |
Feasibility and Final Recommendations
Successful DIY lightweight concrete for countertops demands precision, patience, and investment in proper materials. The material cost for a DIY project is typically 20-40% higher than standard concrete due to aggregates and admixtures. However, you save significantly on professional installation labor.
When to Call a Professional: If your design involves complex shapes, integral sinks, or spans over 6 feet without seams, consult a fabricator. The margin for error is small.
For long-term performance, your sealing regimen is as important as the mix. Reapply a quality impregnating sealer annually in high-use areas. Use trivets and cutting boards religiously. With meticulous execution, a lightweight concrete countertop offers a unique, warm aesthetic with practical installation benefits.
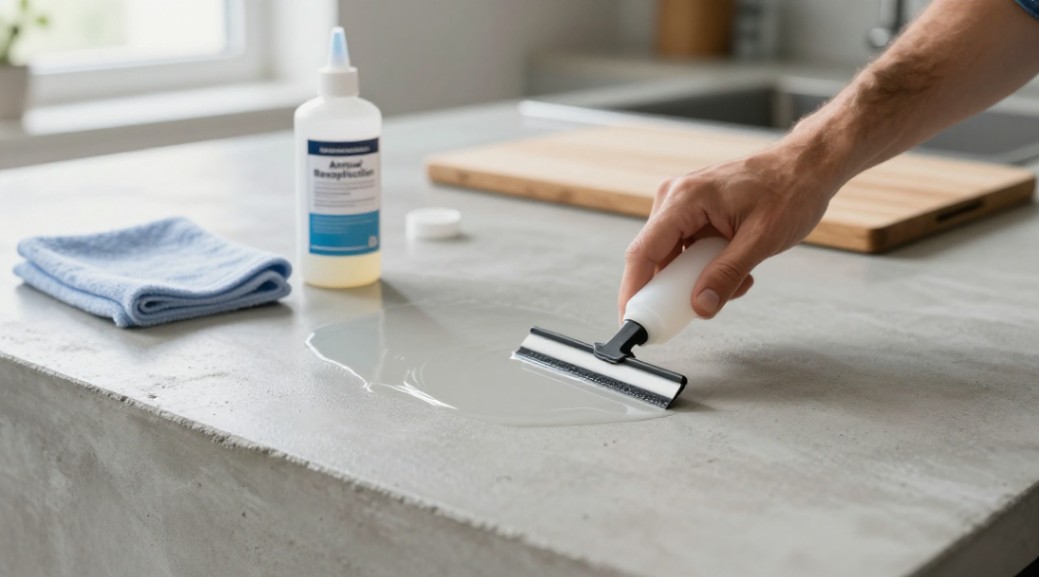
To achieve optimal workability and strength in your mix, consider incorporating a high-range water reducer (superplasticizer). This admixture allows for a lower water-cement ratio, which is critical for a dense, durable matrix around the lightweight aggregates. It’s one of the most effective tools for DIYers to professionalize their mix.
Supplier
We are the global leader in lightweight concrete and advanced engineered foam solutions. Known globally for its commitment to research, innovation, and applied expertise, we have been providing engineered foam solutions since the early 2012’s.
We can supply high-quality concrete admixture and foam concrete related products all over the world.
The company has a professional technical department and quality supervision department, a well-equipped laboratory, and equipped with advanced testing equipment and after-sales customer service center.
If you are interested, please feel free and contact us.