Concrete4U | Concrete Admixtures, Tools, and Production Machines

The Hard Truth: How to Stop Concrete Dust & Soft Floors with Sodium Silicate (No Epoxy Needed)
Why Your Concrete Floor is Failing (And Why You Haven’t Tried the Obvious Fix)
Here’s a fact that stops most homeowners cold: 80% of concrete dust problems in garages and basements are caused by soft, uncarbonated concrete. That’s right. Your floor isn’t ‘dirty’-it’s chemically unfinished. The calcium hydroxide crystals inside the concrete are like tiny, unglued pebbles. They break off under foot traffic, creating that fine, grey powder you hate. You’ve tried sweeping, scrubbing, even expensive epoxy paints that peel. But you haven’t tried sealing concrete floors with sodium silicate. This isn’t a paint. It’s a chemical reaction that turns your soft concrete into a rock-hard, dust-proof surface. And you can do it this weekend.
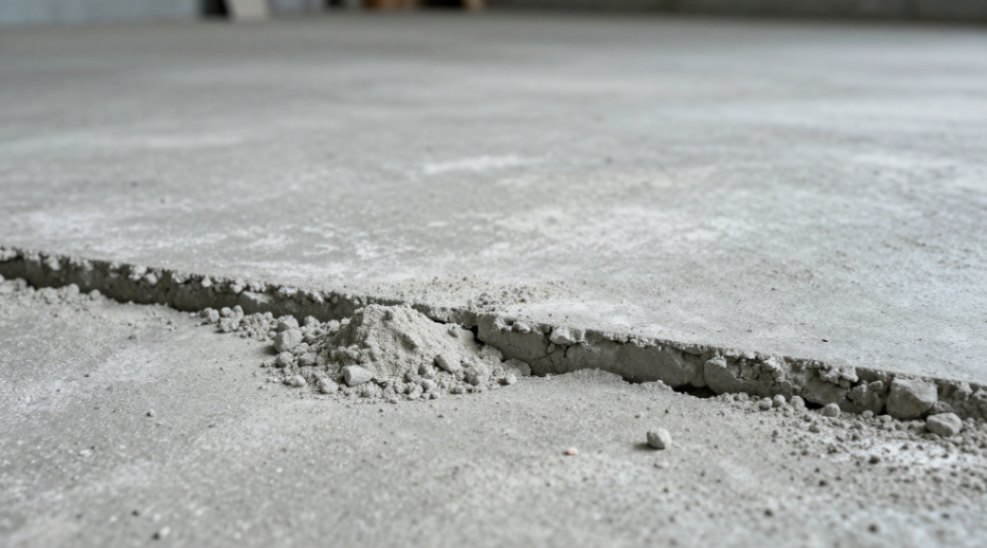
One user on Reddit described it perfectly: ‘Swept my garage for six years. Used sodium silicate last spring. Haven’t swept since. The floor feels like stone now.’
Let’s get you that same result. No hype. Just chemistry and a clear plan.
What Sodium Silicate Actually Does to Your Concrete (The Chemistry)
Sodium silicate is a clear, water-based liquid. It’s not a film. It doesn’t sit on top of your floor. Instead, it penetrates into the concrete pores. Once inside, it reacts with the free calcium hydroxide (that soft stuff) to form calcium silicate hydrate (CSH). CSH is the same binder that makes concrete hard in the first place. You are effectively ‘densifying’ the slab from the inside out. The pores get smaller. The surface gets harder. Dust stops forming because the loose particles are now glued chemically into the matrix.
This process is called densification. It is permanent. It does not wear off because it becomes part of the concrete. That is the fundamental difference between sealing concrete floors with sodium silicate and using a surface coating like acrylic or epoxy.
Limitations You Must Know Before You Start (No Surprises)
I’m not going to sell you magic. Sodium silicate has real limits. Know them now.
- It is NOT a waterproof sealer. Water can still soak through. It only reduces water absorption by about 50-60%.
- It offers mild chemical resistance. Motor oil drips will still stain if left for days. Wipe spills quickly.
- Abrasion resistance is improved, not eliminated. Dragging a heavy steel tool box across it will still leave light scratches.
- It does not fill cracks or level low spots. The surface must be sound before application.
If you need a water-tight, chemical-proof, glossy floor, you want epoxy or polyurethane. But if you want a cheap, permanent dust-proofing and hardening solution for a garage, basement, warehouse, or patio, sodium silicate is your best tool.
Suitable Substrates: Where This Works Best
- Garage floors – Perfect. Stops tire dust and sweeping chores.
- Basements – Excellent for dust control on older, soft slabs.
- Warehouses – Reduces maintenance and extends floor life.
- Patios and walkways – Good option to harden and resist mild weathering.
Tools and Materials Checklist (Get Everything Ready First)
Do not start until you have every item. Sodium silicate dries fast. You need to move without stopping.
| Item | Specification | Why You Need It |
|---|---|---|
| Sodium silicate solution | Technical grade, 40-42° Baumé (approx. 3.22 specific gravity) | This is the standard concentration for concrete sealing. Do not use agricultural or food grade. |
| Clean water | Potable, room temperature | For dilution. Never use hot water-it accelerates the reaction prematurely. |
| Mixing container | 5-gallon plastic bucket | Metal reacts with sodium silicate. Use plastic or HDPE only. |
| Low-pressure pump sprayer | 1-2 gallon capacity, plastic nozzle | For even application. Avoid brass or copper spray tips-corrosion risk. |
| Soft-bristle push broom | 16-18 inch width | To spread the solution into the pores evenly. |
| Floor scrubber or stiff brush | Nylon or polypropylene | For scrubbing the solution into stubborn areas. |
| Clean rags or mop | Lint-free | To pick up excess solution after dwell time. |
| Safety gear | Chemical splash goggles, nitrile gloves, rubber boots, long sleeves | Sodium silicate is alkaline (pH ~11-12). It can irritate skin and eyes. |
| Respirator | N95 or better (for mist) | Ventilation is critical indoors. The spray creates a fine alkaline mist. |
| pH test strips | Range 0-14 | To verify surface pH after cleaning (must be < 10). Unsealed concrete should test near 12. |
Step-by-Step Application: Seal Your Concrete with Sodium Silicate
Step 1: Surface Preparation – The ‘Clean or Cry’ Stage
This is the most common failure point. Sodium silicate penetrates only clean, open pores. Dirt, oil, grease, old paint, or curing compounds block the reaction entirely.
Begin by sweeping and vacuuming every speck of dust. Then, degrease any oil stains using a concrete degreaser or trisodium phosphate (TSP) solution. Scrub with a stiff brush, rinse thoroughly, and let dry completely. If the concrete was previously sealed or painted, you must strip it. Use a concrete grinder with a diamond cup wheel (30-60 grit) or a heavy-duty chemical stripper. Do not skip this. Do not hope old sealer will ‘absorb’-it won’t.
Step 2: Etching (Only for Smooth or Burnished Concrete)
If your concrete is over 28 days old and has a smooth, troweled finish, you need to open the pores. Mix a solution of 1 part muriatic acid to 10 parts water. Apply with a plastic watering can, scrub, wait 5-10 minutes (do not let it dry), then rinse thoroughly with clean water. Neutralize with a baking soda and water solution (1 cup per 5 gallons). Repeat rinsing until pH tests between 7 and 9 on the surface.
For rough or broom-finished concrete, skip etching. Just clean and dry.
Step 3: Dry the Concrete – The Most Ignored Step
Concrete must be bone dry before application. Water fills the pores and blocks the sodium silicate from penetrating. Drying time depends on temperature, humidity, and slab thickness. In practice, wait at least 24 hours after the last rinse. Use a fan or dehumidifier in basements. The slab should look light grey, not dark. A moisture meter reading below 4% is ideal.
Step 4: Dilute the Sodium Silicate Correctly
Do not apply undiluted sodium silicate. It is too thick and will crystallize on the surface, leaving a white, sticky residue. The standard dilution for the first coat is 1 part sodium silicate to 4 parts water (by volume). For the second coat, use 1 part to 3 parts water.
Mix in a plastic bucket. Pour the sodium silicate slowly into the water, stirring gently. Avoid splashing. The mixture will become slightly warm-that is normal.
Step 5: Apply the First Coat – Work in Sections
Wear your goggles, gloves, and respirator. Fill the sprayer with the diluted solution. Spray a section of about 4×4 feet. Do not flood-just a light, even coat. Immediately use the soft-bristle push broom to spread the liquid across the surface. You want the concrete to look wet, not puddled.
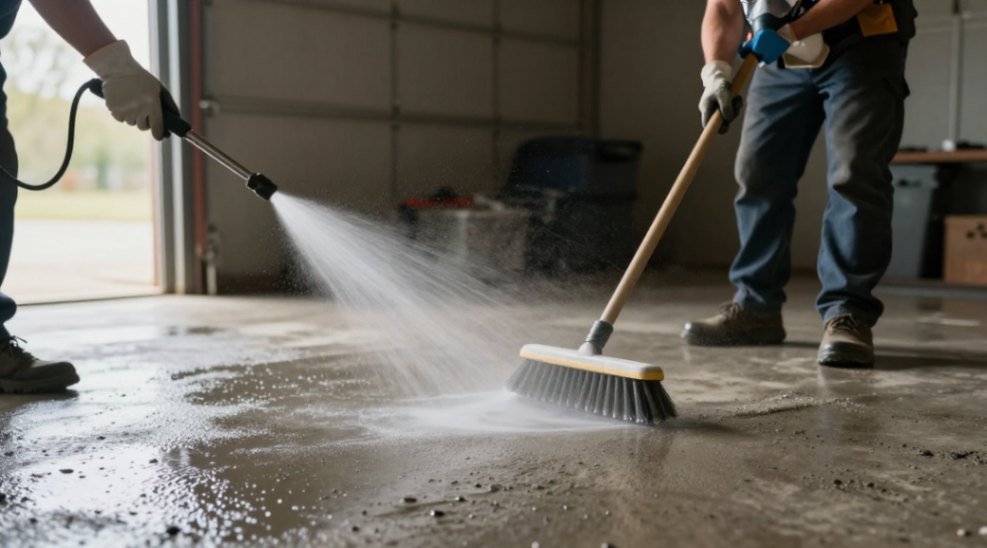
Let the solution dwell for 10-15 minutes. During this time, you’ll see bubbles forming. That’s carbon dioxide gas escaping-the reaction is working. Do not let the surface dry completely during dwell. If it starts to dry, spray a fine mist of water to keep it damp.
Step 6: Remove Excess Solution
After 15 minutes, use a clean mop or rags to pick up any remaining liquid that hasn’t been absorbed. If you skip this, white crystalline deposits will form on the surface. They are hard to remove. Lightly rinsing with clean water and mopping dry is acceptable.
Allow the first coat to cure for 24 hours. Do not walk on it. Keep traffic off.
Step 7: Apply the Second Coat (Mandatory for Best Results)
One coat is not enough. It provides a small benefit. Two coats are the minimum for dust-proofing and hardening. Three coats for extra density.
Repeat Steps 5 and 6 with the second coat using the 1:3 dilution ratio. The second coat will absorb more slowly. That is normal. The concrete is denser now.
Step 8: Final Curing
After the final coat, allow the floor to cure undisturbed for 72 hours. During this time, the CSH reaction continues. The floor will be slippery if wet-post warning signs. After 7 days, the floor reaches full hardness and mild water resistance.
You can apply a wax or acrylic finish over the top for gloss and additional abrasion resistance, but it is not necessary for dust control.
Summary of the Complete Process (Quick Reference Table)
| Stage | Action | Key Detail |
|---|---|---|
| 1. Prep | Clean, degrease, strip old coatings | Use TSP or grinder. No shortcuts. |
| 2. Etch (if needed) | 1:10 acid solution, rinse, neutralize | Only for smooth, burnished slabs. |
| 3. Dry | 24+ hours, low moisture | Surface light gray, no dark spots. |
| 4. Mix 1st coat | 1 part silicate : 4 parts water | Plastic container, stir gently. |
| 5. Apply 1st coat | Spray 4×4 sections, broom spread | Dwell 15 min, keep damp. |
| 6. Remove excess | Mop or rag pickup, light rinse | Prevent white residue. |
| 7. Cure 1 | 24 hours, no traffic | Do NOT walk on it. |
| 8. Mix & apply 2nd coat | 1:3 dilution, repeat steps 5-6 | Absorbs slower; keep wet. |
| 9. Final cure | 72 hours minimum | Full hardness in 7 days. |
Sodium Silicate vs. Common Concrete Sealers (Honest Comparison)
You might wonder why you can’t just use a can of acrylic sealer from the hardware store. Let’s be clear about differences.
| Type | Mechanism | Dust Control | Water Resistance | Chemical Resistance | Surface Wear | Cost per sq. ft. |
|---|---|---|---|---|---|---|
| Sodium Silicate | Chemical reaction (penetrating) | Excellent | Mild | Low | None (floor densifies) | $0.05-0.15 |
| Acrylic (film) | Surface film | Good | Moderate | Low | Wears and peels | $0.20-0.50 |
| Epoxy (coating) | Thick surface layer | Excellent | Excellent | High | Can peel if not prepped | $1.50-3.00+ |
| Polyurethane | Durable surface film | Excellent | Excellent | High | Wears slower than epoxy | $2.00-4.00+ |
If you want dust control and hardening at a fraction of the cost, sealing concrete floors with sodium silicate is the only real contender. If you need a waterproof, glossy showroom floor, epoxy or polyurethane is the better choice, but expect higher prep work and cost.
Safety Precautions – You Will Not Ignore This
I’ve been doing this for over 20 years. I have seen people get chemical burns from splashes. Sodium silicate is an alkali. It is not highly toxic, but it is corrosive to skin and eyes.
- Always wear chemical splash goggles. Not safety glasses. Goggles that seal around the eyes.
- Nitrile gloves are mandatory. Latex degrades quickly in alkaline solutions.
- Long sleeves and pants. If it gets on your skin, rinse immediately with cool water for 15 minutes. Do not rub.
- Ventilate the space. Open all doors and windows. Use fans to push air out. The mist is irritating to lungs.
- Dispose of excess solution properly. Do not pour down storm drains. It is not toxic to the environment, but it is alkaline. Neutralize with vinegar before disposal, then flush with plenty of water.
- Wash tools immediately with water. Dried sodium silicate is like concrete. It will ruin your sprayer overnight.
Community Feedback: What Real Users Say
I follow several DIY and flooring forums. Here is a composite of the most common feedback from users who have successfully sealed their concrete with sodium silicate.
- ‘I used it on my 40-year-old garage floor. The dust stopped completely. Best $30 I ever spent.’ – r/garageporn
- ‘Make sure you do the second coat. I only did one and it helped, but the second coat made it feel like different concrete.’ – r/DIY
- ‘Don’t be scared of the white residue. If you mop up after 15 minutes, it’s fine. I left it too long and had to scrub with a wire brush.’ – r/HomeImprovement
- ‘For a basement floor that is always damp, this helped a little, but it is still damp. I ended up adding a drainage system. Don’t expect waterproofing.’ – r/Basement
Your Next Move (Strong Recommendation)
You now know exactly what sealing concrete floors with sodium silicate involves. The process is cheap, permanent, and within the abilities of any careful DIYer. The only thing stopping you is the fear of doing it wrong. But you have the steps. You have the table. You know the safety rules.
I am recommending you buy a gallon of technical-grade sodium silicate (40-42° Baumé) from a reputable industrial supplier or concrete specialty store. Do not buy the diluted, ‘pre-mixed’ products from big box stores-they are too weak and often contain additives that reduce penetration. Get the real thing. Mix it yourself.
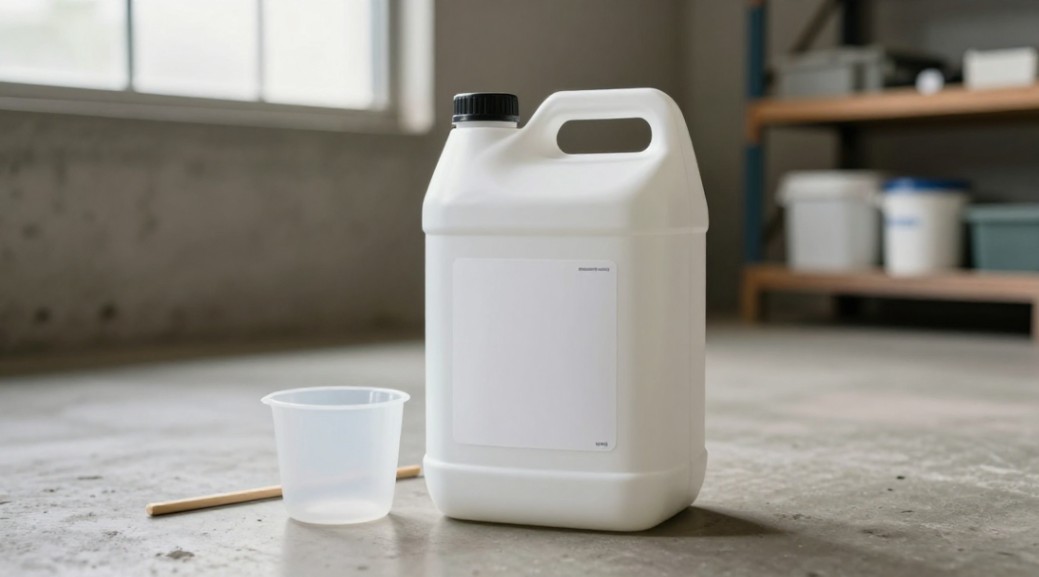
Order your sodium silicate today. Do it now, before you lose momentum. Once you have it, follow this guide step-by-step. You will never sweep dust again. Your floor will be harder, denser, and more durable. It is the single best low-cost upgrade you can make to a concrete slab.
Supplier
We are the global leader in lightweight concrete and advanced engineered foam solutions. Known globally for its commitment to research, innovation, and applied expertise, we have been providing engineered foam solutions since the early 2012’s.
We can supply high-quality concrete admixture and foam concrete related products all over the world.
The company has a professional technical department and quality supervision department, a well-equipped laboratory, and equipped with advanced testing equipment and after-sales customer service center.
If you are interested, please feel free and contact us.